Computing Latest
So that I do not have to rely on a third party to notify me when my certificates have expired I am using a shell script on my server that runs in a cron job to email me an alert of the status of the certificate
The script is a nodejs script that runs as a shell script and should be self explanatory. It uses the nodejs modules email and ssl-checker
#!/usr/local/bin/node
const path = require("path");
const emailer = require(path.join(__dirname, "..", "modules/email"));
const sslChecker = require("ssl-checker")
const uri = 'mydomain.co.uk'
const dayswarning = 20

function sendMessage(subject, message) {
  emailer.sendAdminEmail('message', {subject: subject, message: message}, 'myemail@emailserver.com', function(error, success) {
    if (error) {
      console.log('Error returned from sending email: ' + error.message);
    }
  });
}

sslChecker(uri, 'GET', 443).then(result => {
    if (result.daysRemaining < dayswarning) {
        sendMessage("Certificate expires in " + result.daysRemaining + " days", uri + " about to expire in " + result.daysRemaining + " days")
    } else {
        sendMessage("Certificate OK " + result.daysRemaining + " days remaining", uri + " has " + result.daysRemaining + " days remaining")
    }
});
I have been using jsdom package to test an application that I am writing which is browser based.
The app is a simple Markdown editor with the screen split in two one side Markdown and the other rendered code. There is a toolbar with various Markdown shortcuts to make it easier.
I am in fact writing this post using the editor.
I wanted to write some tests particularly on the text manipulation and that is what I have used jsdom to do.
Generally it was an easy process, the docs are OK but I could have done with a few more good examples but I managed to put together a working test very quickly.
The only problem I had was loading one particular script marked which I could not access from my tests, all of the other scripts in the same folder were fine, just this one. It also worked fine in the chrome browser.
I searched the docs and tried various options all to no avail but in the end I created a workaround in that I loaded the module in my test script and in the options for jsdom I added the following:
beforeParse: function (window) {
    window.marked = marked
}
Not sure if that was a valid solution but my scripts then worked fine.
jsdom is a powerful package and I will continue to use it for this testing and no doubt as I get more familiar I will realise what I may have done wrong in using marked but for now all is fine.
Recently working on a node script I wanted to debug it. Node has a built in debugger.
node inspect wait.js
< Debugger listening on ws://127.0.0.1:9229/ffda2d5f-9a2a-4162-8aaf-cffcf8ed4f6d
< For help, see:
https://nodejs.org/en/docs/inspector
<
connecting to 127.0.0.1:9229 ... ok
< Debugger attached.
<
Break on start in wait.js:9
  7 }
  8
> 9 console.log('before');
 10 wait(7000);  //7 seconds in milliseconds
 11 console.log('after');
debug>
The debugger is fine but can be hard to grasp.
There is an alternative way of debugging using your chrome browser.
If you want to use chrome dev tools to debug the tests you can do as follows:
Launch chrome browser and go to chrome://inspect
There should be an option for connections, I found on my chromebook that localhost:nnnn was blocked in some way and so I had to set it up as 127.0.0.1:9229
Then go to the source of you script and type:
node --inspect-brk wait.js
Debugger listening on ws://127.0.0.1:9229/ce0bc4d3-7285-4e00-80dd-d7126e9a9dd2
For help, see:
https://nodejs.org/en/docs/inspector
Debugger attached.
The key here is the --inspect-brk the -brk on the end causes the script to stop as soon as it starts allowing you to debug it.
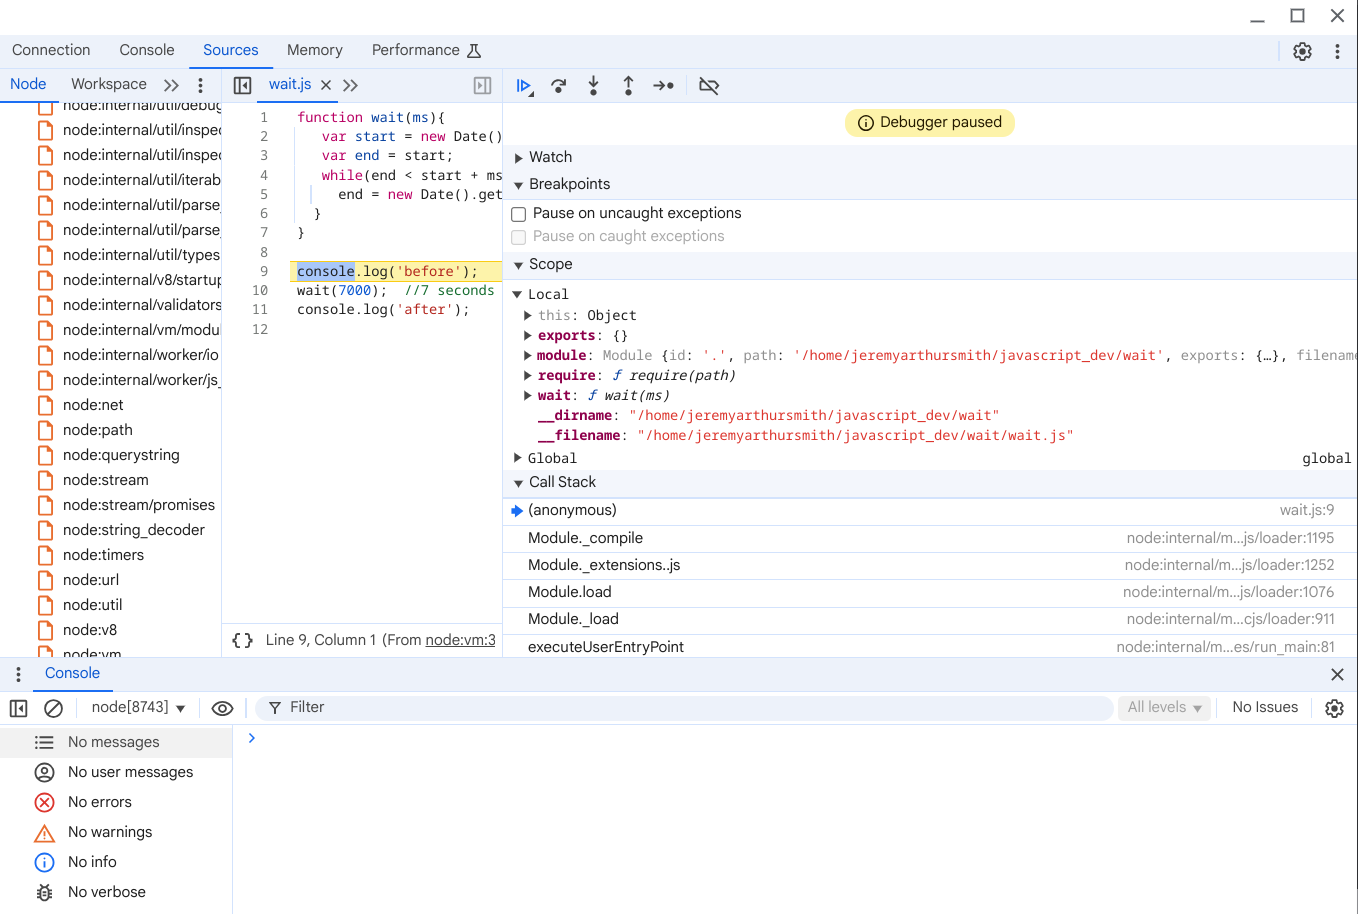
Hopefully a debugging window will pop up
(ignore the code it was just something I grabbed without looking at it)

I have been passionate about Test Driven Development for many years.
Its a discipline that once learned, not only improves the reliability of the software developed but also improves the quality of the software as the act of creating the tests ensures that when you start developing you have a good understanding of the approach and considerations needed for the development.
For JavaScript there are many well known testing libraries and I have used a number of them successfully but for a recent development I decided to create my own testing module. I did this partly as an exercise to maybe improve my test driven processes but also because I truly believed that to get the module I wanted would not be too difficult.
So I created the NPM module jt_test which you can find on NPM.
jt_test on NPM
For more information please check out the code and documentation on NPM and github (link on the npm page)
Its worked well so far for me and no doubt I will improve it over the coming months
I recieved a request from someone as to what software I am using for my blog.
The software is written by me, it is not very sophisticated and was simply written for fun and to give me a platform to experiment with.
The aim was to make it easy to post and to update.
I have spent most of my development career using Linux for software development. I find it has come to feel like a favourite old jumper, very confortable and feels like home.
Having said that now I have semi retired my main pc is a windows laptop running Windows 11, I am quite happy with Windows, I have been using it forever and I actually went to a Launch party of 3.11 in Tucson with Bill Gates as speaker. It works well for my daily needs, email, writing blog posts, editing photos, zoom etc. but for development without doubt Linux is my choice, others will feel differently and its somewhat horses for courses.
Now with Windows Subsystem for Linux WSL2, which gives me a full linux environment in a closely integrated container within windows. It works really well for me, in fact I am typing this blog post on Ghostwriter running on Ubuntu 20 in WSL2.
I have already developed some great applications using this settup including an Email publishing system in Adobe Campaign, a React Web application for data recording and a PWA for logging locatations.
Now I have retired from fulltime employment, I want to use some of my spare time producing some Mobile Applications that I have previously created for myself and others but never published.
The current App I am working on is to be completed in React-Native, its very easy to install this in Linux and works really well, until I want to run the App in an Android emulator, it does run in WSL2 but not reliably, I really needed to load the App in an emulator in Windows.
So my aim is to create and build the application in WSL2, using nodejs, Visual Studio etc. and then launch the App on an emulator running in Windows.
To get me started I followed these instructions Building a react native app in WSL2
These worked very well. I did look at some others but this seems the best to get you started and are easy to understand. There are also many comments that will help. For example I see there is a suggestion to use a USB connected device directly from WSL which I will try at some point.
I did make the following notes:
- I use McAfee for my firewall and I had to enable TCP port 5037
- I used Android studio on windows as an easy way to create an emulated device
- I used the socat utility as this was more reliable than the environment variable although I did find that socat did not always terminate cleanly when I have finished so I usually shutdown the server at the end of a session.
- I had no port forwarding issues so i did not need to use netsh
- I am only using Virtual Devices so have not tried USB connected but will do at some point and will do another post if I discover anything interesting.
- I did make some changes to package.json in my react app (see below)
Here are some of the scripts that I run to start me up in this particular order:
In Windows
Start an emulator
[path to emulator]\emulator.exe -avd pixel4a
Start the ADB server
adb kill-server
adb -a nodaemon server start
In Linux
Start socat
socat -d -d TCP-LISTEN:5037,reuseaddr,fork TCP:$(cat /etc/resolv.conf | awk '/nameserver/ {print $2}'):5037
At that point you should be able run the command adb devices in windows and wsl2 and you should see the enulator listed in both.
Changes to package.json
In my package.json I made the following change in the scripts section to bind to an ipv4 address to enable port forwarding to windows.
I did not specify the device on my android script entry as I am using the virtual emulator.
"start": "react-native start --host 127.0.0.1",
I am very happy with the way this works
I keep most of my stuff under source control, but sometimes I need to keep an actual backup of a file because of the circumstances in which it is created or used.
I have a bash script that I use for this which keeps a rolling 3 backup copies of the file, so each time it is run providing the file has changed it moves copy 2 to copy 3 and copy 1 to copy 2 copy and then copies the actual file to copy 1 etc.
#!/bin/bash

if [ -z "${1}" ]
    then echo "Please input something"
    exit 1
fi

fileExists(){
    if   [ -d "${1}" ]
        then echo "${1} is a directory"
        return 1
    elif [ -f "${1}" ]
        then return 0
    else echo "${1} is not valid"
        return 1
    fi
}

FILENAME=${1}

if fileExists ${FILENAME}
    then echo "Backing up file ${FILENAME}"
else echo cannot backup ${FILENAME}
    exit 1
fi

echo Checking if file is same as existing backup
if [ -e "${FILENAME}" ]; then
    if [ -e "${FILENAME}-1" ]; then
        SHA1=`sha1sum ${FILENAME} | awk '{print $1;}'`
        SHA1BK1=`sha1sum ${FILENAME}-1 | awk '{print $1;}'`
        if [ "${SHA1}" = "${SHA1BK1}" ]; then
                echo "Nothing has changed ${SHA1} versus ${SHA1BK1}"
                exit 1
        fi
    fi
fi

# archive existing tars
if [ -e "${FILENAME}" ]; then
   for a in 2 1
   do
     let b="${a}+1"
     if [ -e "${FILENAME}-${b}" ]; then
        rm "${FILENAME}-${b}"
     fi
     if [ -e "${FILENAME}-${a}" ]; then
        mv "$FILENAME-${a}" "$FILENAME-${b}"
     fi
    done
    cp "${FILENAME}" "${FILENAME}-1"
fi


echo "backup completed"
exit 0
The script first checks (top of script) to see that a file name was specified on the input line.
Then we have defined a fileExists function that checks a file is a valid file.
It checks we have a valid file by calling the above fileExists function using the filename passed in when the script is run.
It then compares using a checksum to see if the file is different from current latest backup.
If it is different then it loops through moving previous copies to a later version and finally copying the file to the latest backup.
Use Grep to find an inclusive set of values in any order
I needed to search my blog posts for ones that included all of a number of words in no particular order.
As a Linux user for many years I have generally used the grep utility to find them.
You can match on multiple values but they are 'Or' matches whereas in this case I want posts that contain all of the values but in any order
My normal way of doing this would be pipe from one to another:
grep -ri -e bike | grep -i -e gravel
But I have discovered a better way using the Perl regular expression option in grep.
grep -lri -P -e '(?=.*?bike)(?=.*?gravel)^.*$'
Gives:
2022-12-30 Bike life/page.md
2023-01-11 First bike ride this year/page.md
Which is just what I wanted, the options used are:
-l just print the file name
-i ignore-case
-r recurse though files and directories
-P use Perl regular expression engine
-e pattern or text to match
Now its some years since I regularly used Perl in my work but I still remember the power of the Perl Regular Expression engine and the awe I had for those Ninja's who truly understood how it worked and while I would never pretend that I mastered regular expressions, I am glad of the experience as it has stood me in good stead as I have developed applications in many different languages often using the regex implementation in the particular language I am using at the time.
The magic of the Perl regex: '(?=.?bike)(?=.?gravel)^.*$'
This uses lookaheads to find all of the matches in any order.
Lookaheads are zero-length assertions and so do not move on through the search text, these are looking ahead, first for the word 'gravel', then for the word 'bike' but because the current search position does not move from the start then every search is effectively from the beginning of the text and so they will match on any order.
Look at this
Regex page on Mastering Lookahead and Lookbehind for a better explanation.
Also try Regex test site which allows you to build, test, and debug regular expressions
In the match spec: (?=.*?gravel) we have a Lookahead indicated by the ?= that asserts that what immediately follows the current position in the string is .*?gravel where the . represents any character (other than terminator character) and *? is a lazy match ( see Link below for more information on lazy quantifiers ) of the previous token (any character) between 0 and unlimited times but as few times as possible until it matches the characters 'gravel'
See an explanation of lazy quantifiers
As a developer with almost 50 years of experience starting as a computer operator on a mainframe when I was just 17 I have usually been spoilt in having the best kit required for the job which is what you would expect if your company wants you to develop the best quality product in the required time frame.
I have had some challenges such as in the 1980's developing quite a complex application using Dbase II for a company on an Osborne portable with a 5 inch screen 52x24, 64k memory and I think 90k single density 5 1/4 floppy disks (may have been dual density 180k). It required some patience but I completed several projects on this for my customer.
Generally though I have been blessed to work on some top of the range kit.
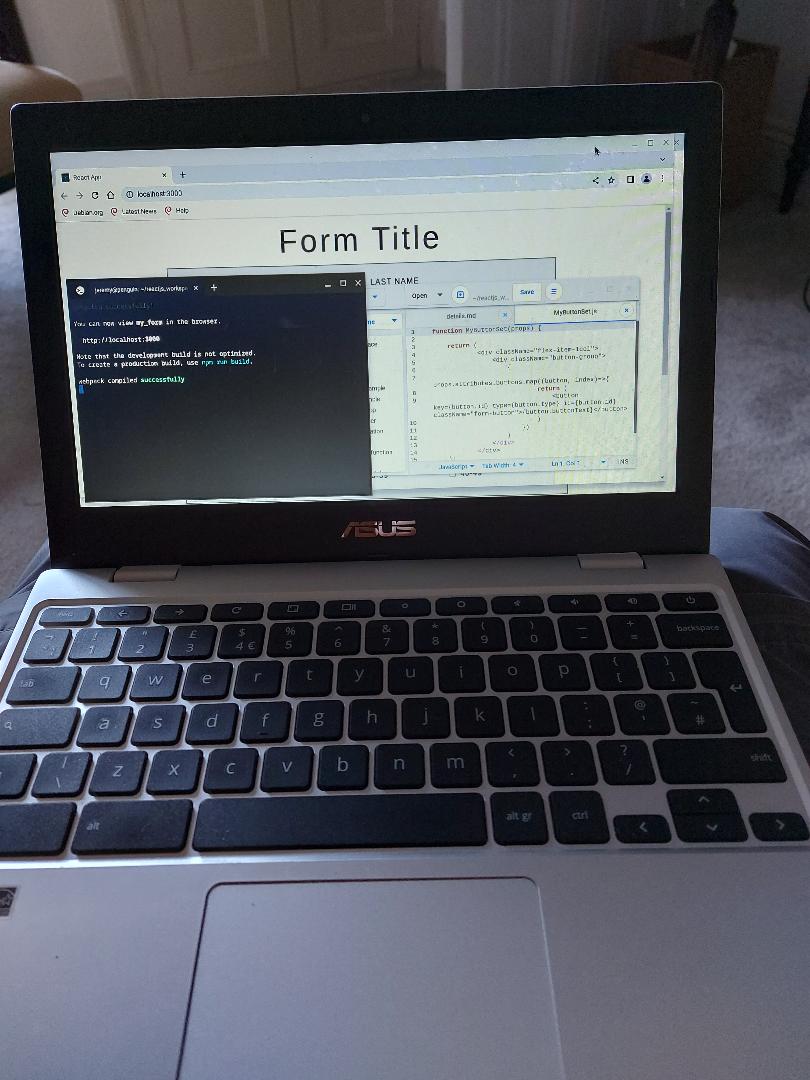
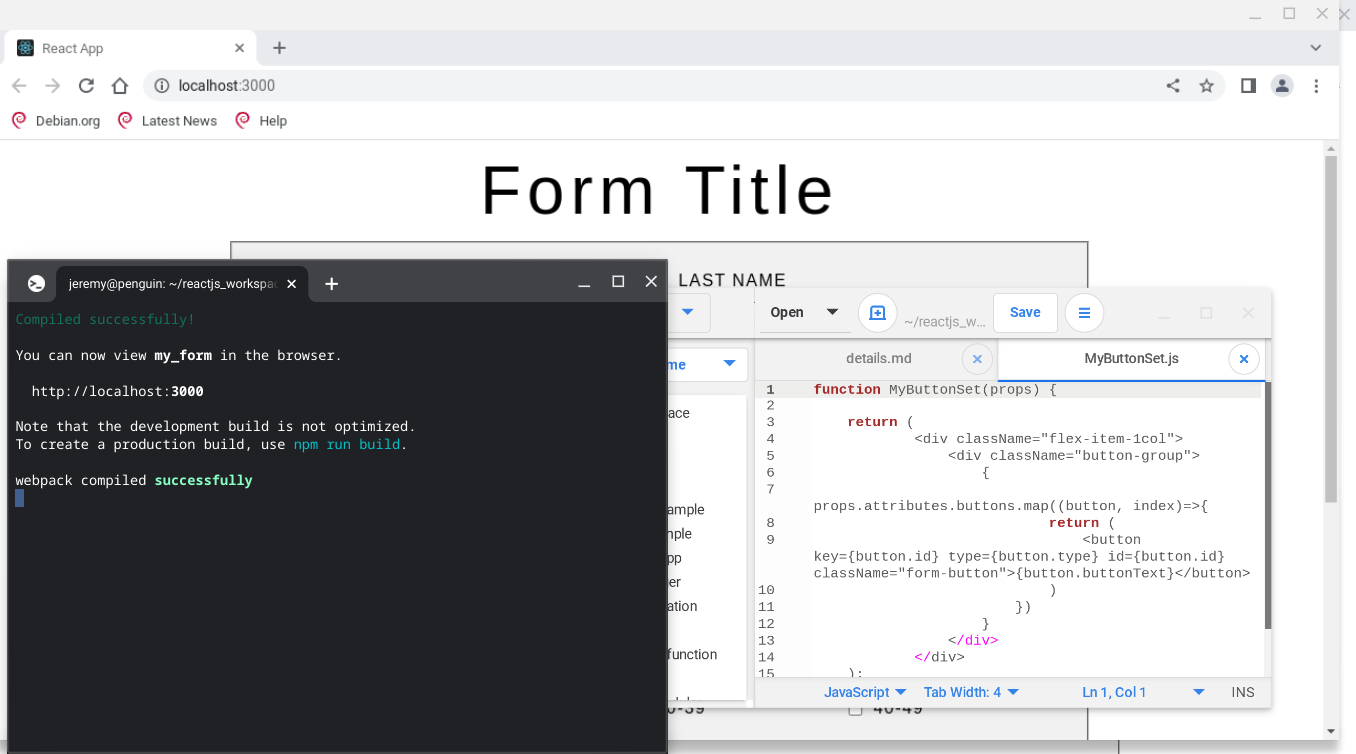
Nowadays I develop mostly using my own kit and although I have a reasonably performant i7 computer with a reasonable spec and driving 3 monitors, I often find myself pulling out my Pentium based Chromebook to do development, I paid 119 pounds for the Chromebook a couple of years ago, it has a low power Pentium processor, 4gb memory, 64 gb drive and really aimed at the casual browser. However I have found myself developing several applications on it including a 'Location Logger PWA', a 'Bird Box recording database' using reactJS as well as using it to develop many small functions that I will then incorporate in a larger system

I use this system for a number of reasons, battery lasts for ages, being a Chromebook its really a Linux box and it allows me to run most of my favourite apps, Git, Node, PostgreSQL, Typescript, ReactJS etc. Yes its very slow compared to my i7 but its still workable. Also I can take it anywhere, if I break it, I have only lost 119 pounds.

Recently I did think about upgrading to an i5 Chromebook and may well do that but to be honest it was either a new laptop or a new canoe and I really want a new canoe. I am working fine on the Chromebook but at some point I will upgrade if I find a small screen i5 Chromebook that fits in with whatever I am doing.
So what point am I making? basically if you are a professional developer you will almost certainly use the best equipment available, but as I have found you don't have to, so for those on a budget who want to learn python, PostgreSQL, JavaScript etc. they can easily do that on a low cost machine as shown here.
If you want to find out more then just use your search engine to find 'chromebook crostini' which will probably offer https://chromeos.dev/en/linux


